
Starting a blog is an exciting and fulfilling endeavor. However, the initial steps of setting up a blog can feel overwhelming, particularly if you’re unfamiliar with web hosting and content management systems. Thankfully, Cloudways offers a user-friendly and efficient solution for starting your own WordPress blog.
To begin creating a WordPress blog on Cloudways, the first step is to select a content management system (CMS). With its user-friendly interface and extensive community of developers, WordPress stands as the most popular CMS choice. Its versatility allows for customization through plugins and themes that enhance its functionality. Once you have made your CMS selection as WordPress, you can proceed with setting up your blog on Cloudways.
To start your WordPress blog on Cloudways, you’ll first need to create an account and set up a server. Cloudways provides different plans to meet your requirements and offers various cloud providers like Amazon Web Services, Google Cloud, and DigitalOcean.
After setting up your server, you can proceed with the installation of WordPress and customize your blog according to your preferences. With Cloudways, managing your server is made effortless as it allows you to monitor website performance and easily scale resources whenever needed.
Understanding Cloudways and WordPress

If you’re looking to start a WordPress blog, you might be curious about Cloudways and its connection to WordPress. In simple terms, Cloudways is a cloud provider that specializes in offering managed cloud hosting services for websites, which includes WordPress blogs.
WordPress is a widely used Content Management System (CMS) that currently supports over 40% of all websites on the internet. If you’re interested in building your own website or starting a blog, you can obtain the WordPress software from their official website, wordpress.org.
When you choose Cloudways as your WordPress blog host, you’re essentially leasing server space that is fully managed by Cloudways. This means that Cloudways handles all the technical aspects of server administration, including security, updates, and backups. With these crucial tasks taken care of, you can devote your energy to what matters most – creating engaging content for your blog.
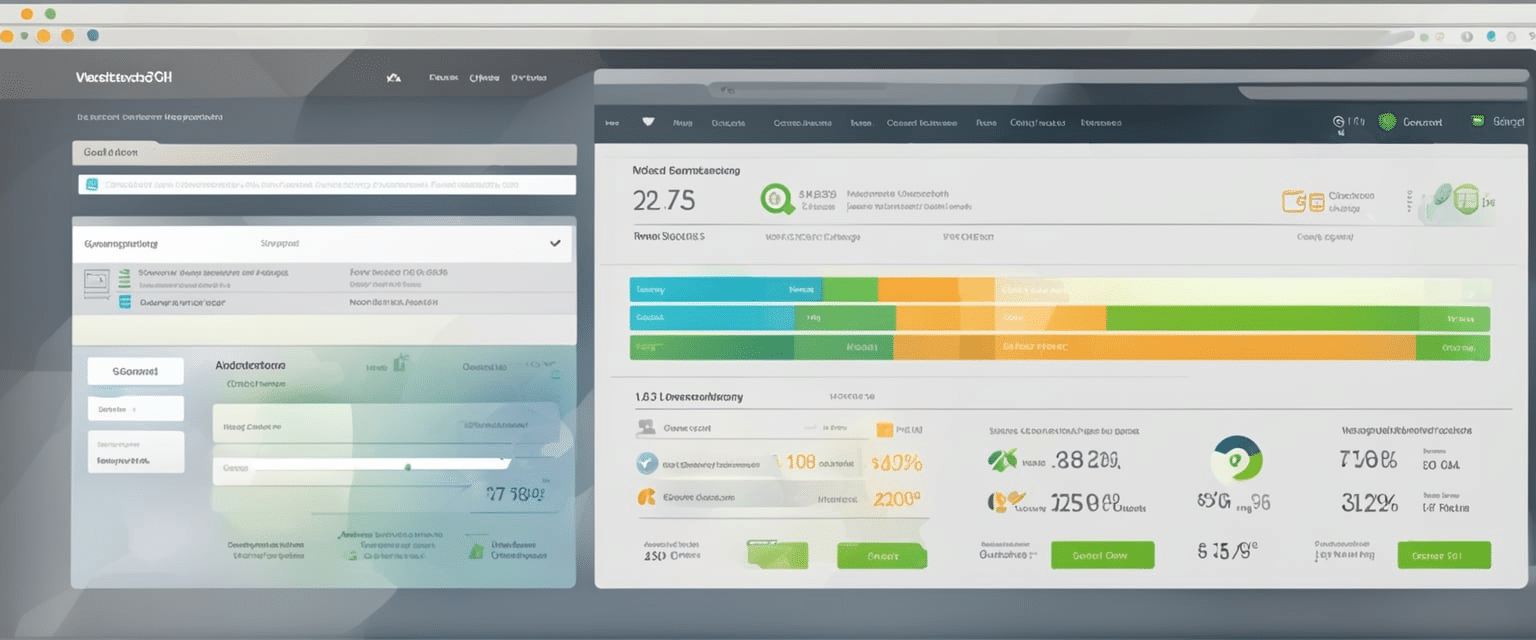
One of the benefits of using Cloudways for your WordPress blog is that it offers a user-friendly interface that makes it easy to manage your server and website. You can use the Cloudways dashboard to install WordPress, manage your domains, configure your server settings, and more.
Cloudways provides a variety of features to enhance the performance and security of your WordPress blog. For instance, you can utilize the Cloudways CDN to optimize website speed and implement SSL certificates to ensure website security.
Overall, Cloudways is a reliable and affordable option for hosting your WordPress blog. By using a managed cloud provider like Cloudways, you can focus on creating content for your blog, while leaving the technical details to the experts.
Setting Up Your Account
To begin your WordPress blog on Cloudways, all you have to do is sign up for a Cloudways account. It’s a simple and fast process, and you even have the option of starting with a free trial to explore the platform before choosing a paid plan.
After creating an account, you’ll gain access to the Cloudways dashboard. This is where you can effortlessly manage your server, applications, and billing details.
Cloudways provides flexible pricing options to accommodate various needs and budgets. The cost of your plan will be determined by factors such as the number of servers you require, the amount of storage and bandwidth needed, and the level of support desired. Cloudways is renowned for its competitive pricing, and they frequently offer discounts and promo codes for new customers.
Setting up your Cloudways account is a simple and quick process that can be done in just a few minutes. With various plans to choose from and the option of a free trial, finding the perfect solution for your WordPress blog is effortless.
Choosing Your Server and Server Size

When you begin a WordPress blog on Cloudways, a crucial decision is selecting the server and its size. Cloudways provides multiple options for cloud hosting providers, such as Vultr, Digital Ocean, AWS, and others.
To begin, you just need to choose your cloud hosting provider and select the server size that meets your requirements. A 2GB server size is recommended for beginners as a good starting point.

Choosing the right server location is crucial, whether it’s for yourself or your target audience. Cloudways provides several options when it comes to server locations, spanning North America, Europe, Asia, and Australia.
For those in need of powerful servers, Cloudways provides high-frequency servers specifically designed for optimum speed and performance. These servers are highly recommended for websites experiencing heavy traffic or resource-intensive applications.
After selecting your server and its size, you can proceed to deploy it and begin customizing the server details. With Cloudways, managing server resources and monitoring performance becomes effortless, allowing you to prioritize website development and audience expansion.
Creating Your WordPress Blog
To create your WordPress blog on Cloudways, you need to deploy a server and install WordPress on it. Cloudways makes it easy to install WordPress by providing a managed app that simplifies the installation process.
Here is a step-by-step guide to creating your WordPress blog with Cloudways:
- To get started, access your Cloudways account and deploy a server. You have the option to choose from various cloud providers like AWS, Google Cloud, DigitalOcean, and more.
- Once your server is up and running, go to the “Applications” tab and click on “Add Application.” Select WordPress as your application and provide the relevant details such as the app name, server information, etc.
- Cloudways will then automatically install WordPress on your server. To access your WordPress dashboard, simply click on the “Access Details” button. From there, you can personalize your blog by choosing a theme and installing plugins that meet your requirements. Additionally, feel free to create pages and posts to start publishing content.
Setting up a WordPress blog using Cloudways is quick and easy. In just a few minutes, you can have your blog up and running. With Cloudways’ managed app, the installation process is simplified, allowing you to put your energy into creating engaging content for your blog.
Connecting a Custom Domain and Setting up SSL
As a blogger, you want your website to have a professional look and feel. One way to achieve this is by connecting a custom domain name and setting up SSL.
To connect a custom domain name, the first step is to purchase a domain name from a registrar like Namecheap. After obtaining your desired domain name, you can easily add it to your Cloudways account by following these simple steps:
To connect your domain to your Cloudways account, follow these simple steps:
1. Log in to your Cloudways account and navigate to the “Applications” tab.
2. Find and select the specific application you want to connect your domain to.
3. Click on the “Domain Management” tab within that application’s settings.
4. Locate the option labeled “Add Domain” and click on it.
5. Enter your domain name in the provided field and confirm.
6. Finally, make sure to update your DNS records accordingly. By following these steps, you can easily link your domain with your Cloudways account hassle-free!
The process of updating your DNS records may differ depending on the domain registrar you use.
However, here are the general steps to follow:
To update your domain’s DNS settings and point it to your server’s IP address, simply log in to your domain registrar’s website and navigate to the DNS settings for your specific domain.
From there, locate the “A” record and modify it by entering your server’s IP address.
Ensuring the security of your website is crucial, and setting up SSL (Secure Sockets Layer) plays a significant role in achieving that.
To set up SSL, you can follow these straightforward steps:
To install an SSL certificate in your Cloudways account, follow these simple steps:
1. Log in to your Cloudways account and navigate to the “SSL Certificates” tab.
2. Locate and click on the “Add Certificate” button.
3. From the options provided, select “Let’s Encrypt” as the certificate provider.
4. Enter your domain name in the designated field and choose the “Wildcard SSL” option if applicable. 5. Once you have entered all the necessary information, click on “Install Certificate.”
Once the SSL certificate is installed, you will need to update your WordPress settings to use HTTPS instead of HTTP. You can do this by going to your WordPress dashboard, clicking on “Settings” and updating the “Site Address” and “WordPress Address” to use HTTPS.
To summarize, establishing a custom domain name and implementing SSL is crucial for creating a polished WordPress blog. By following the outlined steps, you can easily integrate your desired domain and ensure the security of your website with SSL.
Choosing and Installing a WordPress Theme

Choosing and installing a theme is a thrilling part of starting a WordPress blog. With thousands of themes to choose from, it can feel overwhelming to select the perfect one for your blog.
When selecting a theme, it’s crucial to take into account the design, functionality, and how well it aligns with your blog’s niche. Certain themes are tailored for blogs specifically, while others may be more suitable for e-commerce websites or portfolio showcases.
There are a few different methods for installing a WordPress theme. One option is to search for a theme directly within the WordPress dashboard. This is a straightforward and convenient way to find and install a theme. Another method involves manually uploading a theme, which can be useful if you have purchased a premium theme from an external website.
One popular WordPress theme is the GeneratePress theme. This theme is lightweight and fast, making it a great choice for bloggers who want to optimize their site’s speed. It is also compatible with popular page builders like Elementor, making it easy to customize your site’s design.
Selecting and installing a WordPress theme is an exciting milestone in the process of launching your blog. With countless options at your fingertips, it’s crucial to carefully consider your blog’s niche and design preferences before settling on a theme.
Securing Your WordPress Blog

As a blogger, it is essential to prioritize the security of your WordPress site in order to safeguard both your website and the data of your users. To achieve this, here are some steps that you can implement to enhance the security of your WordPress blog on Cloudways:
Install Security Plugins
To enhance the security of your WordPress site, there are several reliable security plugins to consider. Wordfence Security, iThemes Security, and Sucuri Security are among the popular choices. These plugins offer valuable features such as monitoring for suspicious activity, blocking malicious traffic, and scanning your site for any potential vulnerabilities. Implementing these tools will help safeguard your website from potential attacks.
Use an SSL Certificate
An SSL certificate adds an extra layer of security by encrypting data transmitted between your website and your users’ browsers. This helps protect sensitive information from being intercepted by hackers. At Cloudways, you can enjoy the added security of a free Let’s Encrypt SSL certificate included with all hosting plans. Installing this certificate is quick and easy through your Cloudways dashboard.
Keep Your Site Updated
Keeping your WordPress site and its plugins up to date is crucial for maintaining security. Updates often include security patches that address known vulnerabilities, so it’s important to install them as soon as they become available.
Use a Secured Managed Cloud Server
Cloudways offers a managed cloud server that prioritizes security. With built-in firewalls, regular OS patching, and bot protection, you can rest assured knowing that your website is safeguarded against common threats and vulnerabilities.
Optimizing Your Blog for Speed and Scalability

As a blogger, it’s crucial to optimize your WordPress site for speed and scalability. This not only enhances the user experience but also boosts your search engine rankings. Here are some practical tips to optimize your blog for speed and scalability.
Choose a Fast and Reliable Hosting Service
One of the most important factors in website speed and uptime is the hosting service you choose. I recommend using a cloud hosting service like Cloudways, which provides fast and reliable hosting for WordPress sites. Cloud hosting offers several benefits, including scalability, flexibility, and backups.
Use a Caching Solution
Caching is a technique that allows your site to load faster by storing frequently accessed data in a cache. There are several caching plugins available for WordPress, such as WP Rocket and W3 Total Cache. These plugins can significantly improve your site’s speed and reduce server load.
Optimize Your Images
Including large images on your website can greatly decrease its loading speed. To improve image optimization, you can utilize plugins such as Smush or manually optimize them using an image editing program. Another effective technique is implementing lazy loading, which ensures that images are only loaded when they become visible on the user’s screen.
Implement a Content Delivery Network (CDN)
A content delivery network (CDN) is a network of servers that store and deliver website content to users based on their location. By utilizing a CDN, you can greatly enhance your website’s loading speed and decrease server strain. Cloudways offers an integrated CDN solution, or alternatively, you have the option to utilize third-party CDNs such as Cloudflare or MaxCDN.
Ensure Your Site is Scalable
As your website starts to attract more visitors, it becomes crucial to ensure that it can handle the increased traffic and server load. Cloud hosting services, such as Cloudways, provide a convenient solution for scalability. They allow you to effortlessly upgrade your server resources whenever necessary.
By following these tips, you can ensure that your WordPress site is fast, reliable, and scalable. This will not only improve your site’s user experience, but it will also help with search engine rankings.
Migrating Your Existing Blog to Cloudways

If you currently have a WordPress blog hosted on your own server and are interested in moving it to Cloudways hosting, the migration process is quite simple. Cloudways provides a plugin called WordPress Migrator that assists with transferring your site to their platform at a new server.
To get started, begin by signing up for Cloudways hosting and launching a new server. Make sure to install a blank WordPress setup on your newly launched server. Once you’ve completed these steps, you can proceed to install the Cloudways Migrator plugin on your current WordPress site.
To get started, simply copy your Cloudways server details into the plugin settings and add your domain name along with the SSL certificate. After completing these steps, you can proceed with setting up the DNS and finalizing the migration process.
Please note that if you are utilizing certain aspects of your current hosting provider, such as domain management, you will need to handle those separately. Cloudways does not provide assistance with domain management, so it is necessary to use an external registrar for that purpose.
Moving your self-hosted WordPress blog to Cloudways hosting is a straightforward process, especially with the assistance of the Cloudways Migrator plugin. By choosing Cloudways’ managed hosting services, you’ll experience enhanced website performance and security. Additionally, as your site expands, scalability becomes effortless.
Understanding Pricing and Hosting Options

If you’re considering starting a WordPress blog on Cloudways, it’s essential to understand the various pricing and hosting options they provide. With Cloudways, you have access to affordable hosting services that offer pay-as-you-go pricing. This means you only pay for the resources you actually use, making it an ideal choice for new bloggers looking to keep their costs low.
When comparing Cloudways to other hosting services like Bluehost, HostGator, and SiteGround, one of the standout features is Cloudways’ dedicated hosting options. With dedicated hosting, bloggers have their own server exclusively for their blog. This can be incredibly beneficial for those with a larger audience who require additional resources to handle the increased traffic.
Cloudways also provides shared hosting options, where multiple websites share a server. This can be a cost-effective choice for bloggers who are starting out and haven’t built a large audience yet. It’s worth mentioning that shared servers may be slower and less dependable compared to dedicated servers.
For bloggers, another choice is to utilize all-in-one hosting providers like Cloudways. These hosting services provide everything you require to begin a blog in a single package, including hosting, domain registration, and website builders. This can be an excellent option for bloggers who desire a straightforward and hassle-free approach to launch their blog without being concerned about technical intricacies.
To summarize, Cloudways provides cost-effective hosting services with flexible payment options. They offer both dedicated and shared hosting plans, as well as comprehensive all-in-one hosting solutions. As a blogger, it’s crucial to assess your specific hosting requirements and select the option that aligns best with your blog’s needs.
Final Thoughts

To sum up, if you’re a blogger seeking a user-friendly and dependable hosting service, starting a WordPress blog on Cloudways is an excellent choice. Cloudways ensures remarkable website speed and performance, which plays a vital role in boosting your blog’s rankings.
If you’re new to blogging, don’t worry! Cloudways is here to assist you with helpful resources and support to get you started. Moreover, Cloudways offers flexibility and additional features that allow you to customize your blog according to your preferences.
When choosing a domain name for your blog, you can simply purchase one from a reputable domain registrar like GoDaddy. After purchasing your domain, you can easily connect it to your Cloudways server. This allows you to effortlessly manage and update your blog using the user-friendly WordPress dashboard.
I hope the information provided will assist you in starting your WordPress blog on Cloudways. Wishing you the best of luck!
Frequently Asked Questions
How do I launch my blog on WordPress?
Before you can launch your blog on WordPress, the first step is to sign up with a hosting provider. One highly recommended option for hosting your WordPress blog is Cloudways. Once you’ve signed up with Cloudways, you can easily install WordPress and begin setting up your blog.
How easy is it to set up a WordPress blog?
Creating a WordPress blog on Cloudways is a straightforward process that can be completed in just a few simple steps. First, sign up with Cloudways and choose WordPress as your desired app environment. Next, select the cloud hosting provider you prefer for your server, along with the appropriate server size. Once that’s done, install and activate a WordPress theme of your choice and begin creating engaging content for your blog.
Can I install WordPress locally on Windows 10?
Absolutely! If you’re using Windows 10, you can easily set up a local installation of WordPress. There are tools available like XAMPP or WAMP that make the process straightforward. Once you’ve installed the tool of your choice, you can download and install WordPress on your local machine to begin building your blog.
How do I create a local WordPress site?
To create a local WordPress site, you need to first install a tool like XAMPP or WAMP. Once you have installed the tool, you can download and install WordPress on your local machine. After that, you can start setting up your site and creating content.
Does Cloudways support WordPress?
Absolutely! Cloudways fully supports WordPress and offers a seamless experience for installing and managing your WordPress site. With Cloudways, you can effortlessly install WordPress, select from multiple hosting providers, and begin creating engaging content for your blog.

- 1Understanding Cloudways and WordPress
- 2Setting Up Your Account
- 3Choosing Your Server and Server Size
- 4Creating Your WordPress Blog
- 5Connecting a Custom Domain and Setting up SSL
- 6Choosing and Installing a WordPress Theme
- 7Securing Your WordPress Blog
- 8Optimizing Your Blog for Speed and Scalability
- 9Migrating Your Existing Blog to Cloudways
- 10Understanding Pricing and Hosting Options
- 11Final Thoughts